Date Block
Areas Where Date Blocks Can Be Used
- Header Area
- Content Area
- Sidebar Area
- Bottom Area
How to Use Date Blocks
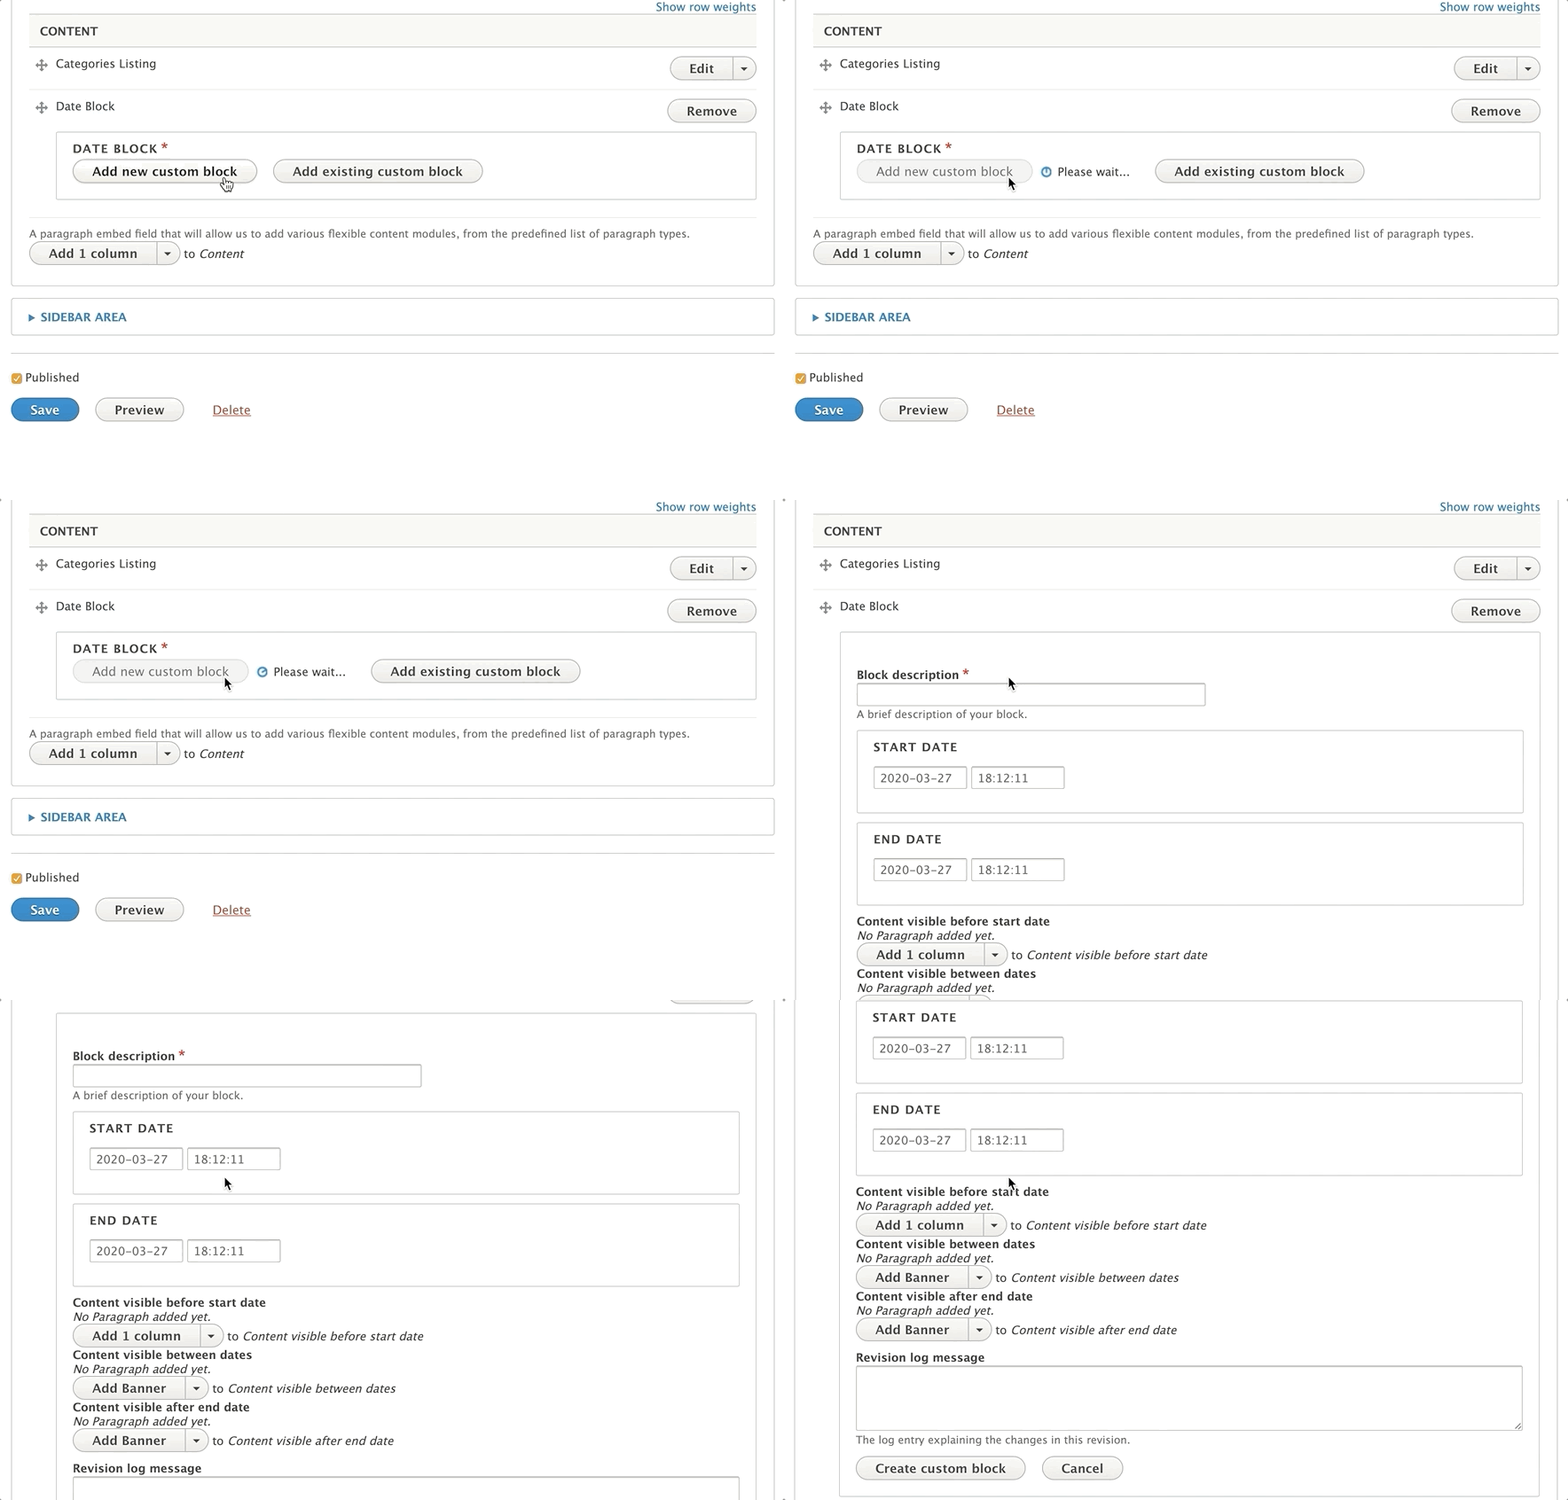
- In the desired content area, choose Add Date Block from the list of paragraphs in the dropdown menu.
- You will then see two options: Add New Custom Block or Add Existing Custom Block.
Add New Custom Block
If you are using Date Block for the first time or want to create a new, unique date block:
Choose the Add New Custom Block option.

Enter a descriptive Label for your date block in the Block description field.
- This label is for administrative purposes and will help you identify the block when reusing it on multiple pages. It is not displayed on the front end of the site.
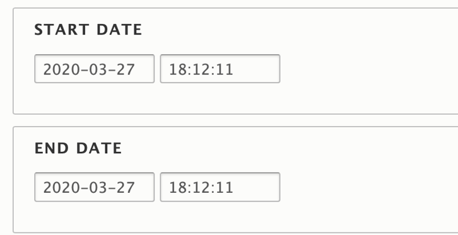
Enter a Start Date and End Date for your block.
- The content within the date block will only be visible between these dates, similar to how content types can be scheduled for publishing and unpublishing.
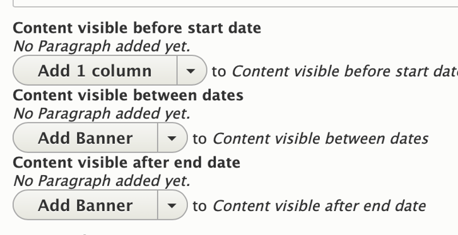
Add paragraphs to the designated areas to display content Before, During, and After your scheduled dates.
- Use the corresponding fields and add paragraphs as you normally would.
If you do not want content to display before, during, or after your specified time period, leave the corresponding field blank.
Click Create custom block to save your date block.
Add Existing Custom Block
To reuse a date block that you have previously created:
Click the Add Existing Custom Block button.
Enter the Label of your block into the autocomplete field.
Select your block from the options to add it to the content area.

Editing a Date Block
To edit a Date Block:
- Click Edit next to the paragraph where the Date Block is located.
- Click the second Edit button that appears next to the name of your date block.
- Make the desired changes within the block.
- Click Update Custom Block to save your changes.
Any changes made to a date block will be applied to every page where that block has been added.

